Juniper
The CrowdSec Juniper integration connects CrowdSec's hosted blocklist endpoint to your Juniper router.
Juniper calls this feature Security Dynamic Address feeds, which allow you to import and automatically update IP address lists from external feed servers.
Ensure your Juniper device supports Security Dynamic Address feeds.
The vendor documentation is available in the References section below.
Create a Juniper Integration Endpoint
- 1- Create an integration
- 2- Configure Endpoint
- 3- Save your credentials
- 4- Subscribe to blocklists
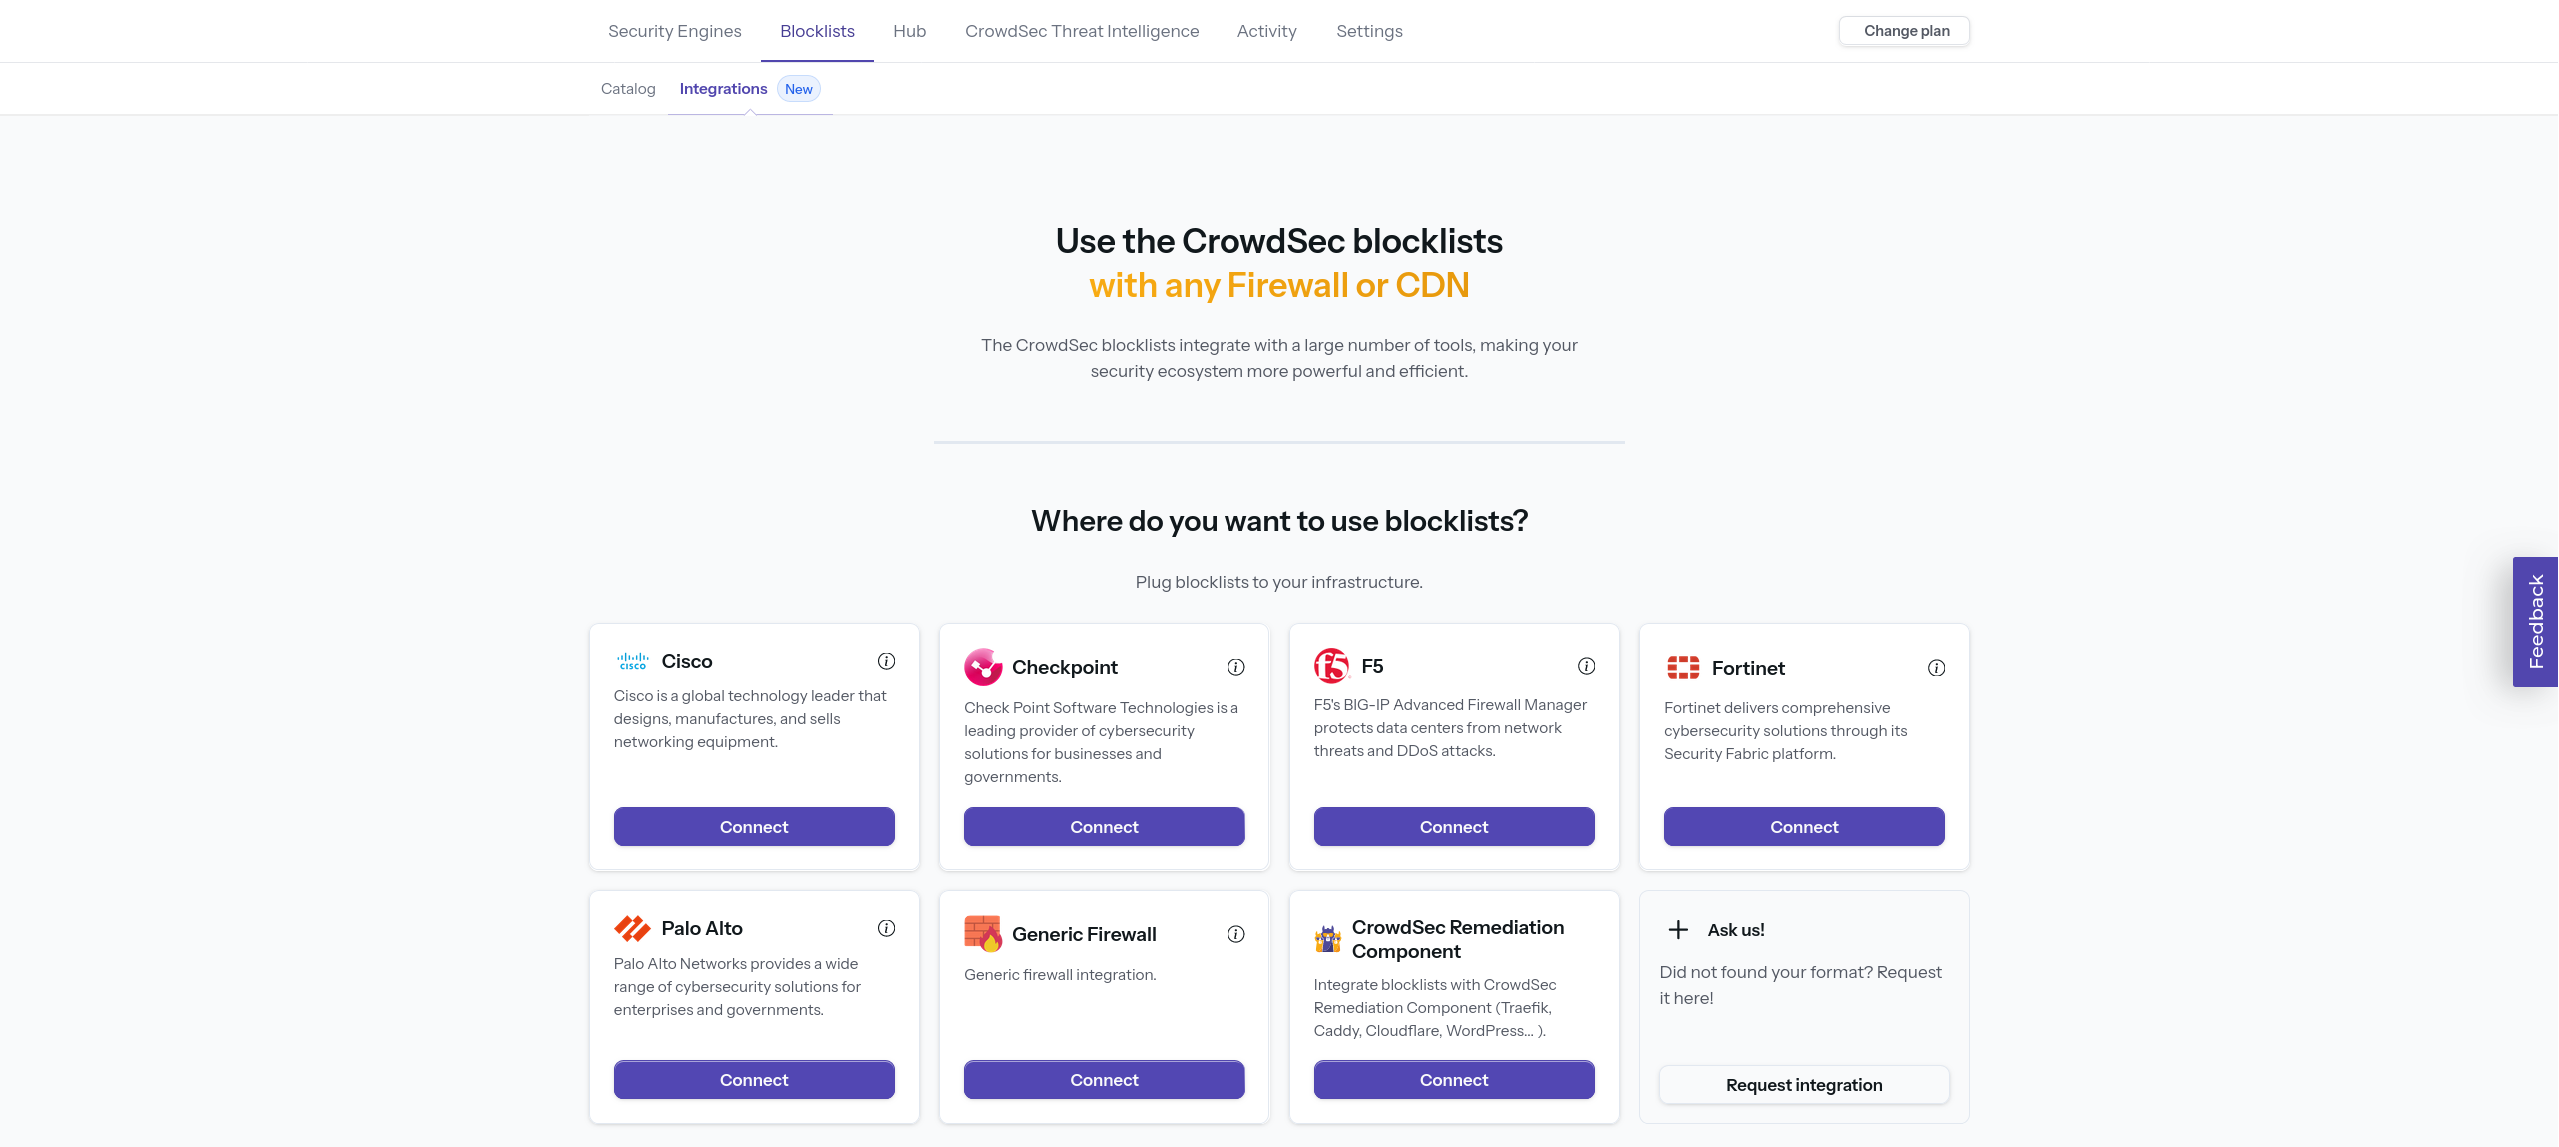
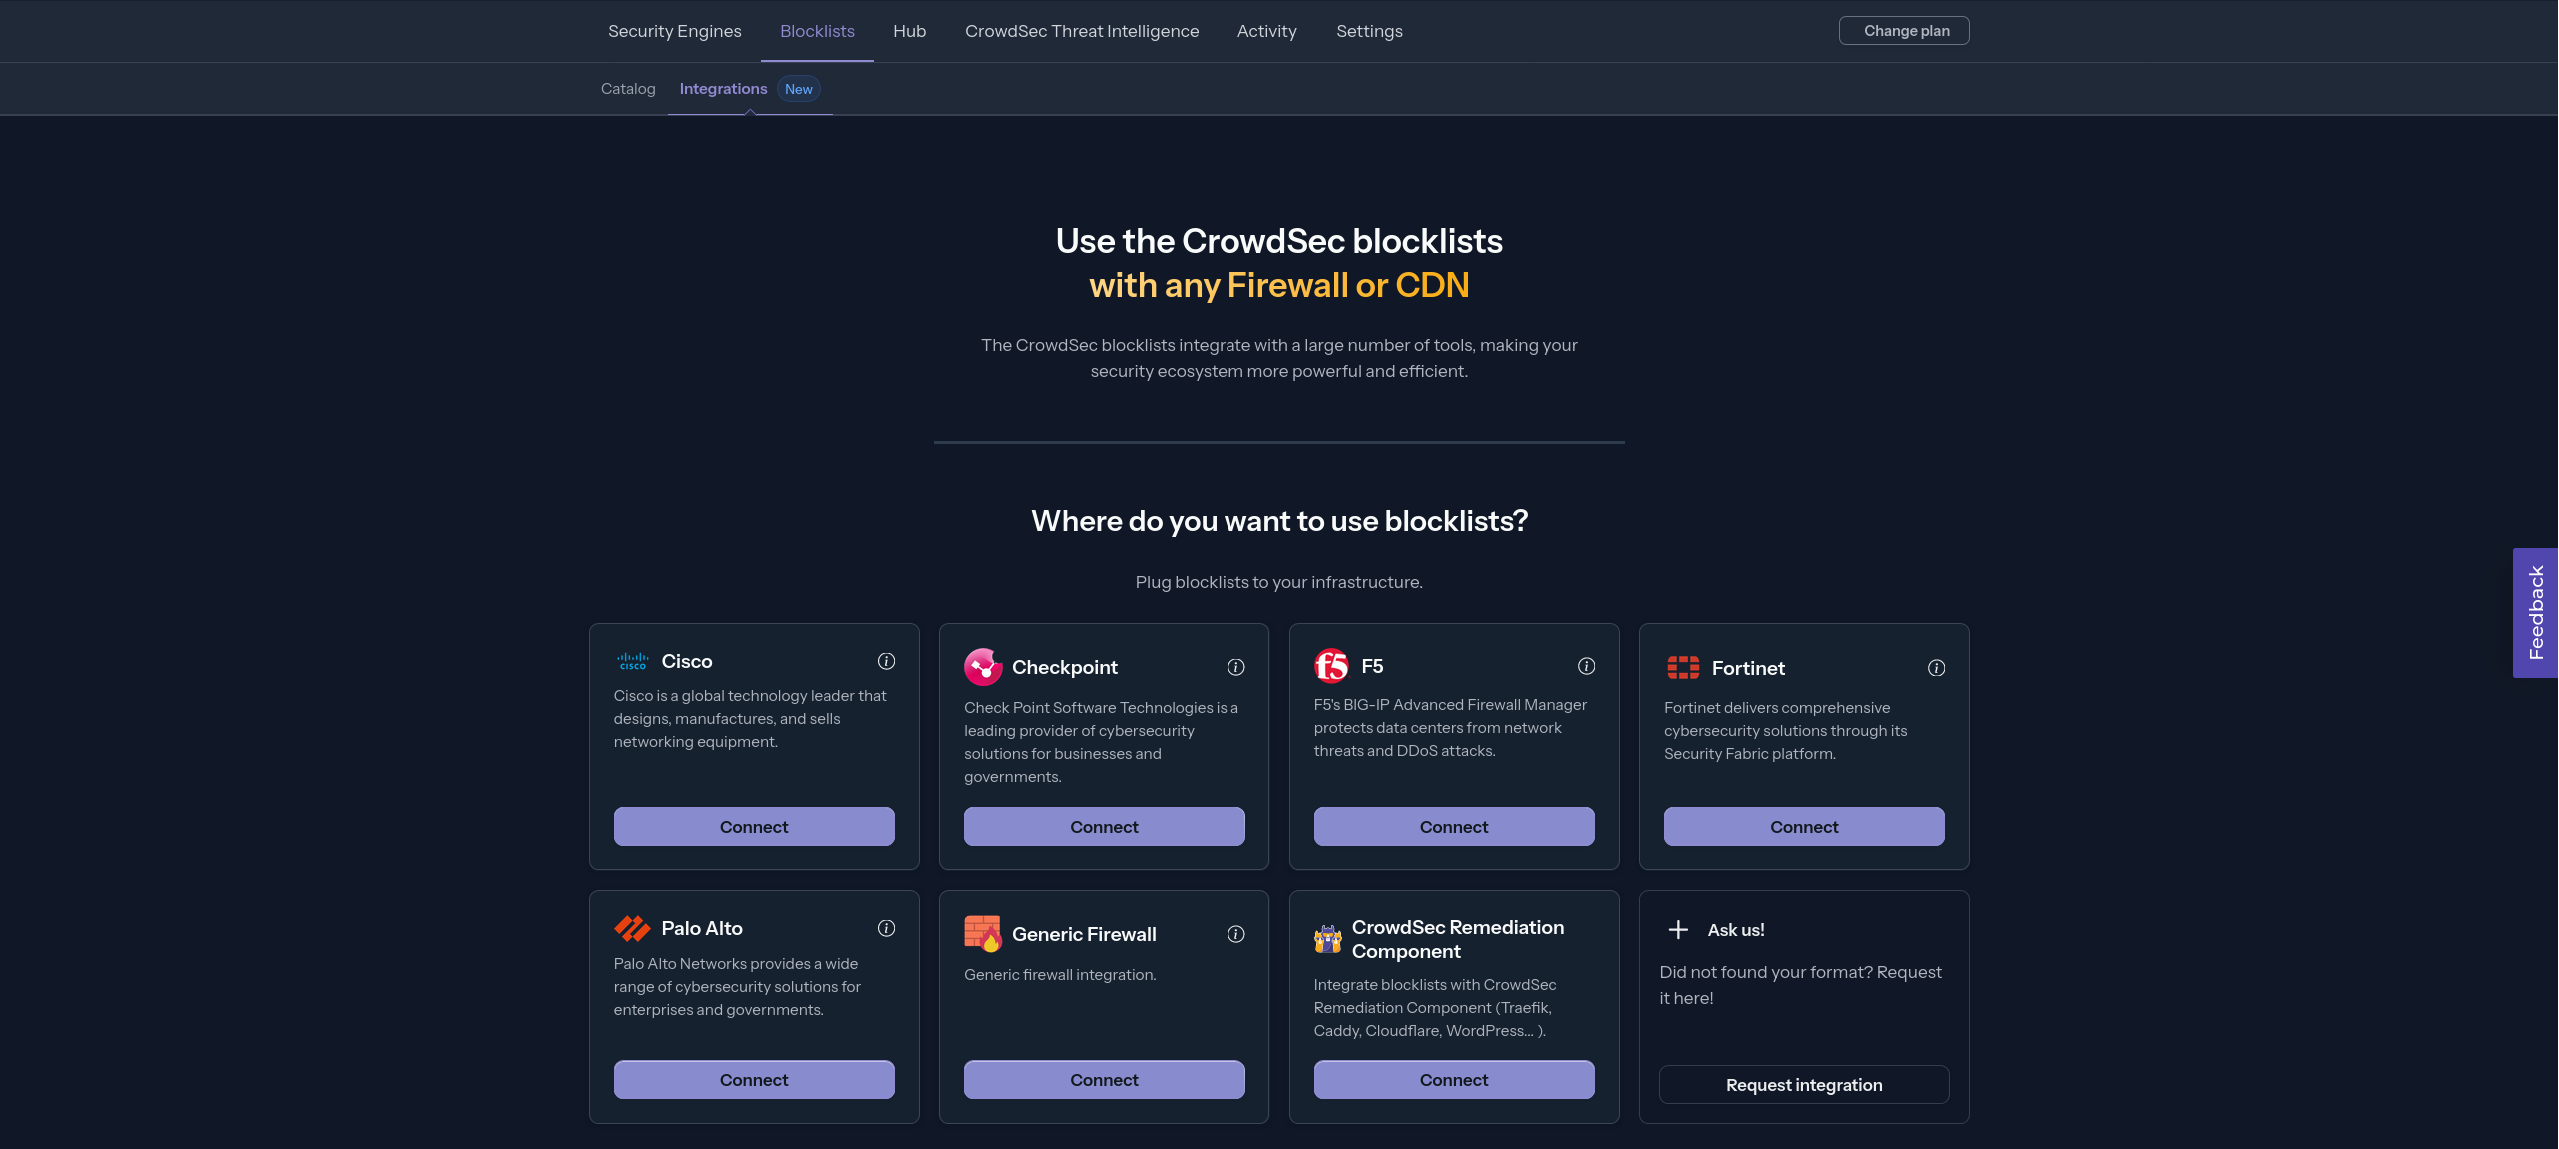
Step 1 - Create an integration in the CrowdSec Console
In your CrowdSec Console account, navigate to the Blocklist tab in the top menu bar, then select the Integrations sub-menu. Choose the integration type you need, then click Connect.
If you don't have a CrowdSec Console account, sign up here. On mobile, use the menu icon in the top-right corner, tap Blocklist, then Integrations.
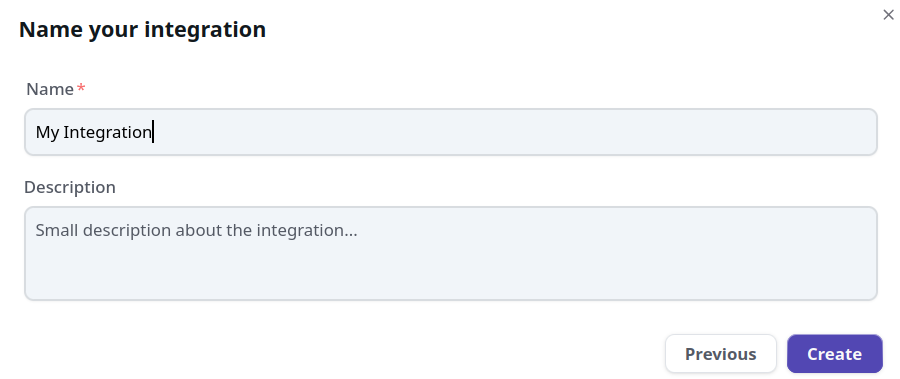
Step 2 - Fill in integration details
Name the integration (must be unique to your account) Optionally, add a description and tags to help you identify it later.
You can also configure:
- Enable IP aggregation — aggregate IPs into CIDR blocks to reduce list size
- Pull limit — maximum number of IPs returned per pull (default: 10,000)
Then click Create or Save.

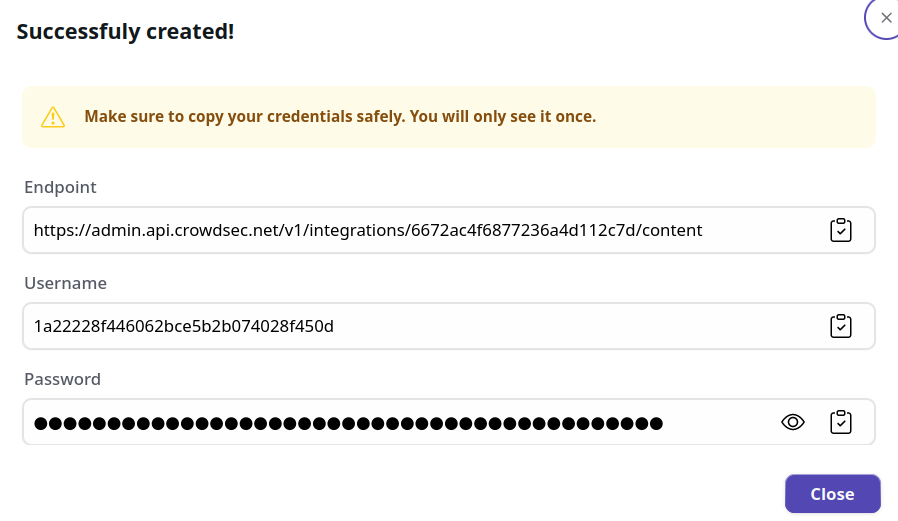
Step 3 - Copy your credentials
The credentials shown next are displayed only once. Copy them before closing this screen. If you lose your credentials, you can regenerate them via Configure → Regenerate Credentials on the integration page.
With this HTTPS endpoint and Basic Auth credentials, you can verify the endpoint with any HTTP client, for example:
curl -u 'usr:pass' https://admin.api.crowdsec.net/v1/integrations/$integID/content
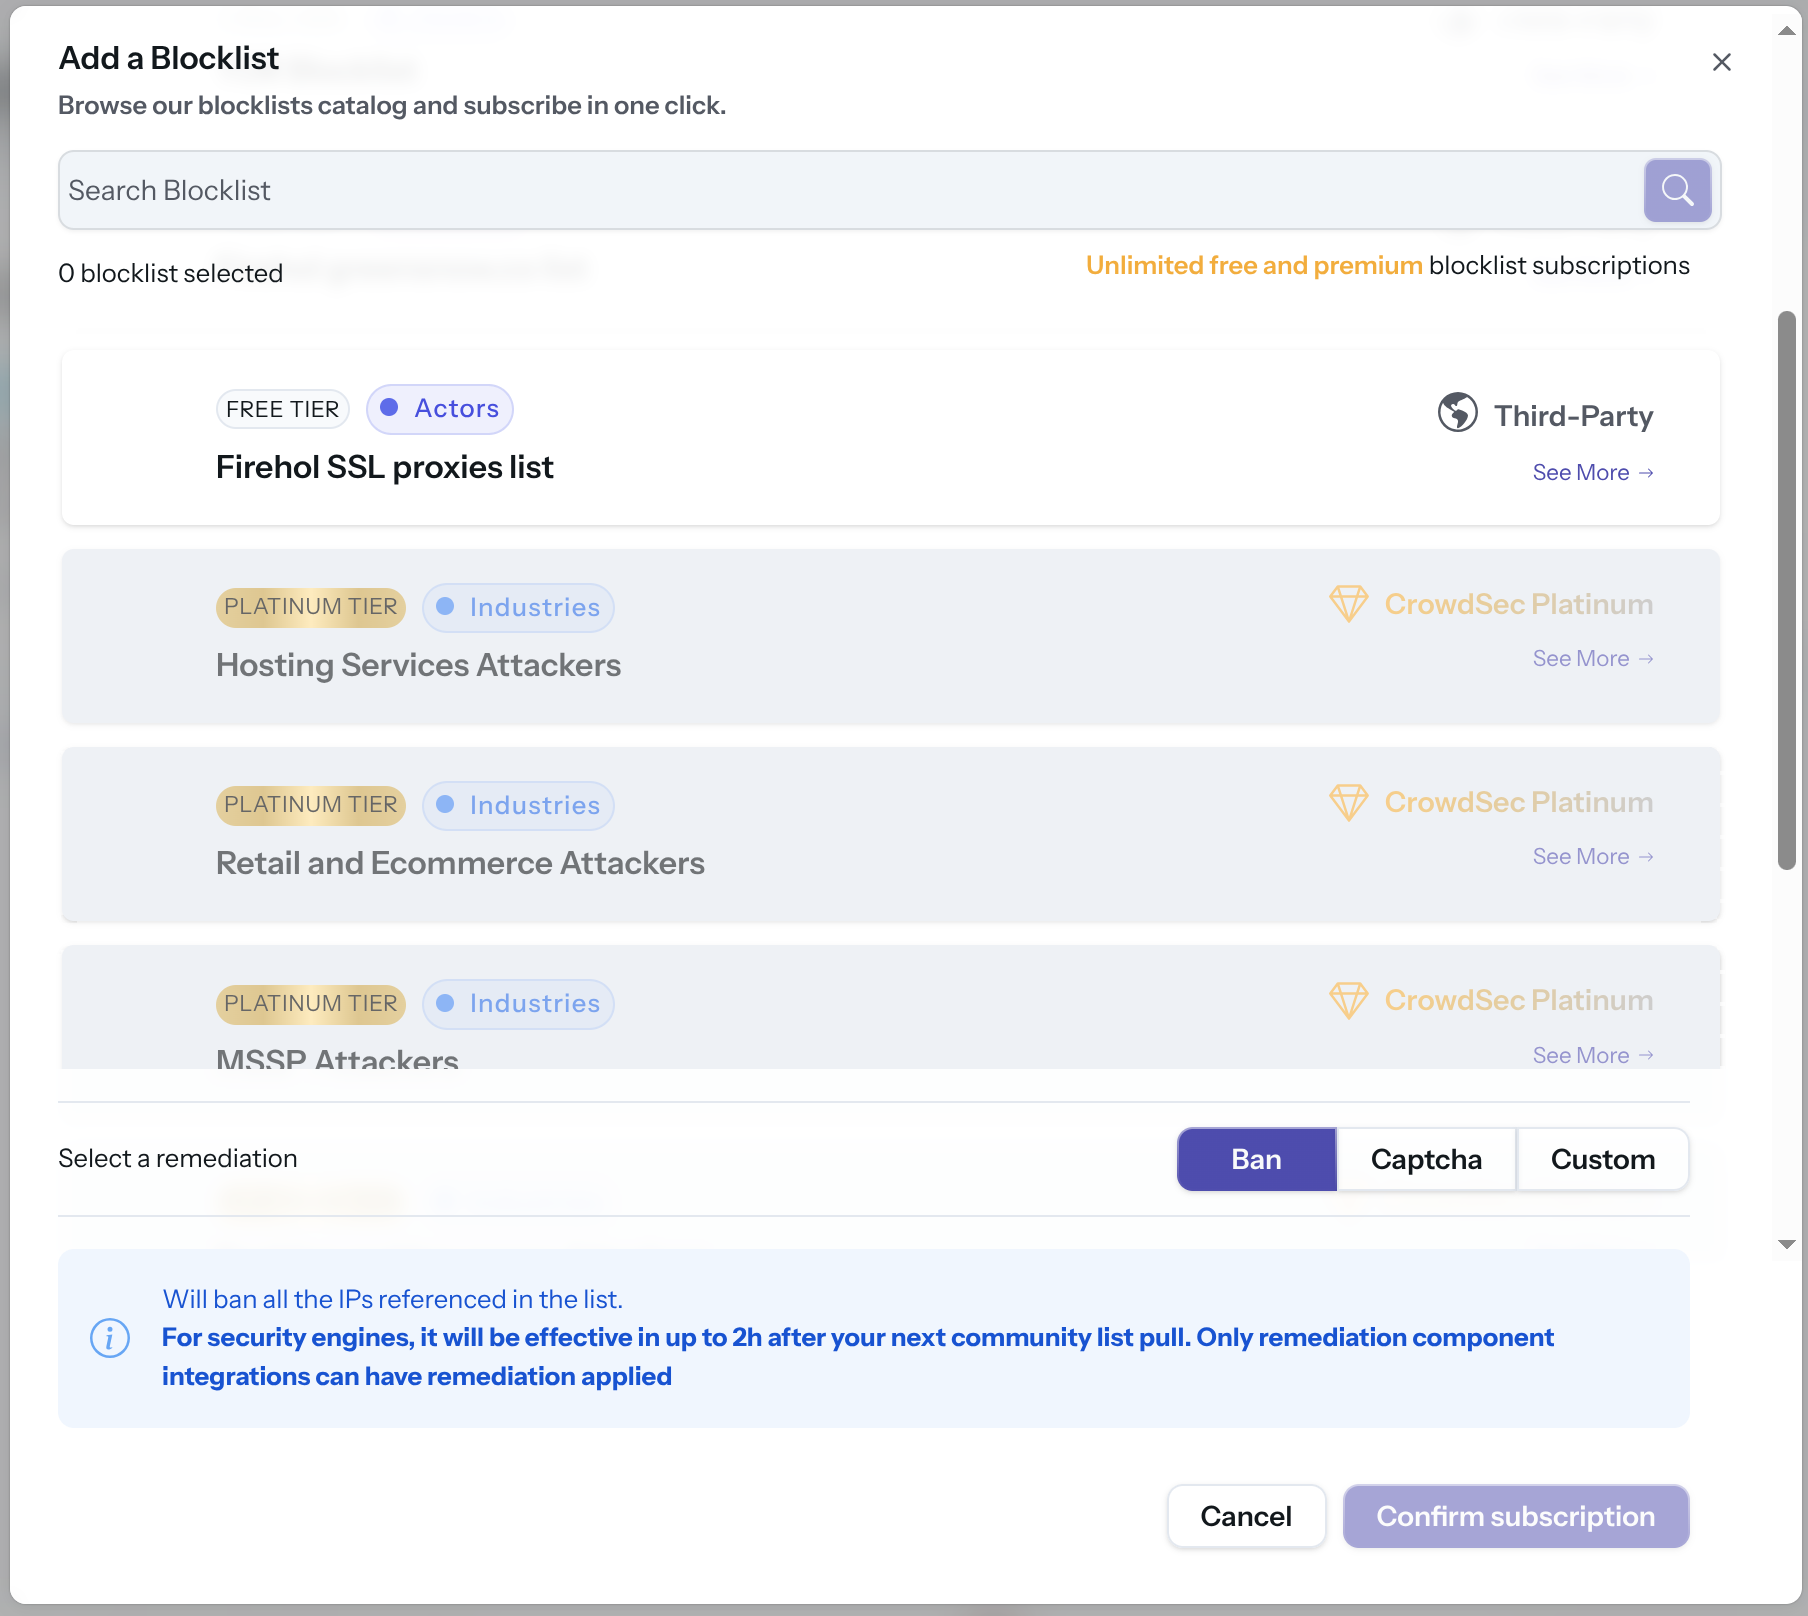
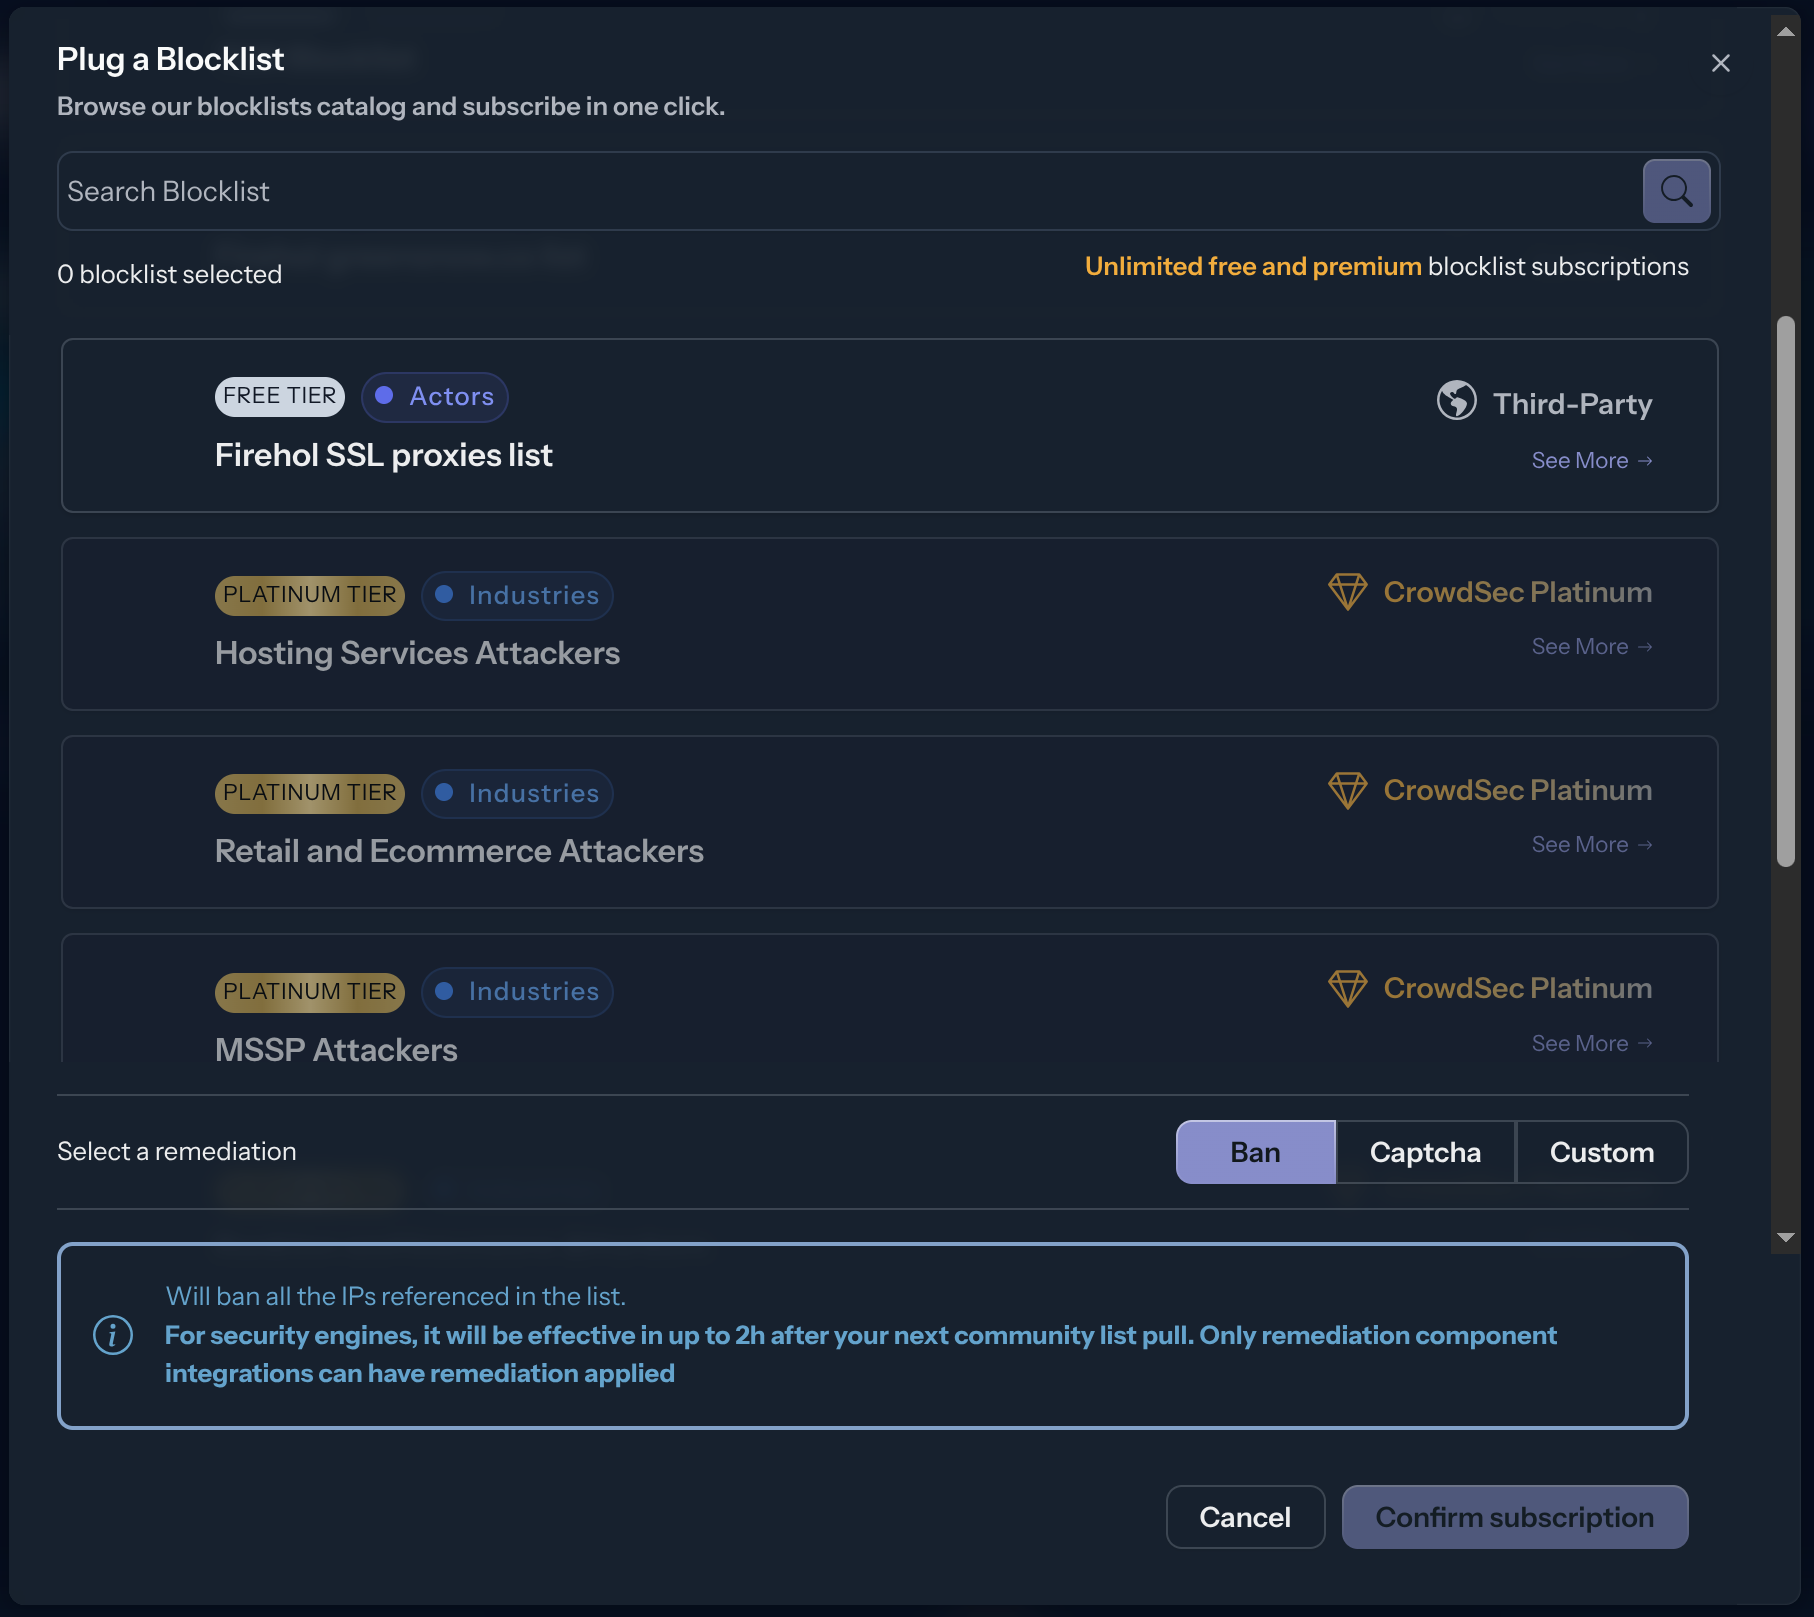
Step 4 - Subscribe to Blocklists
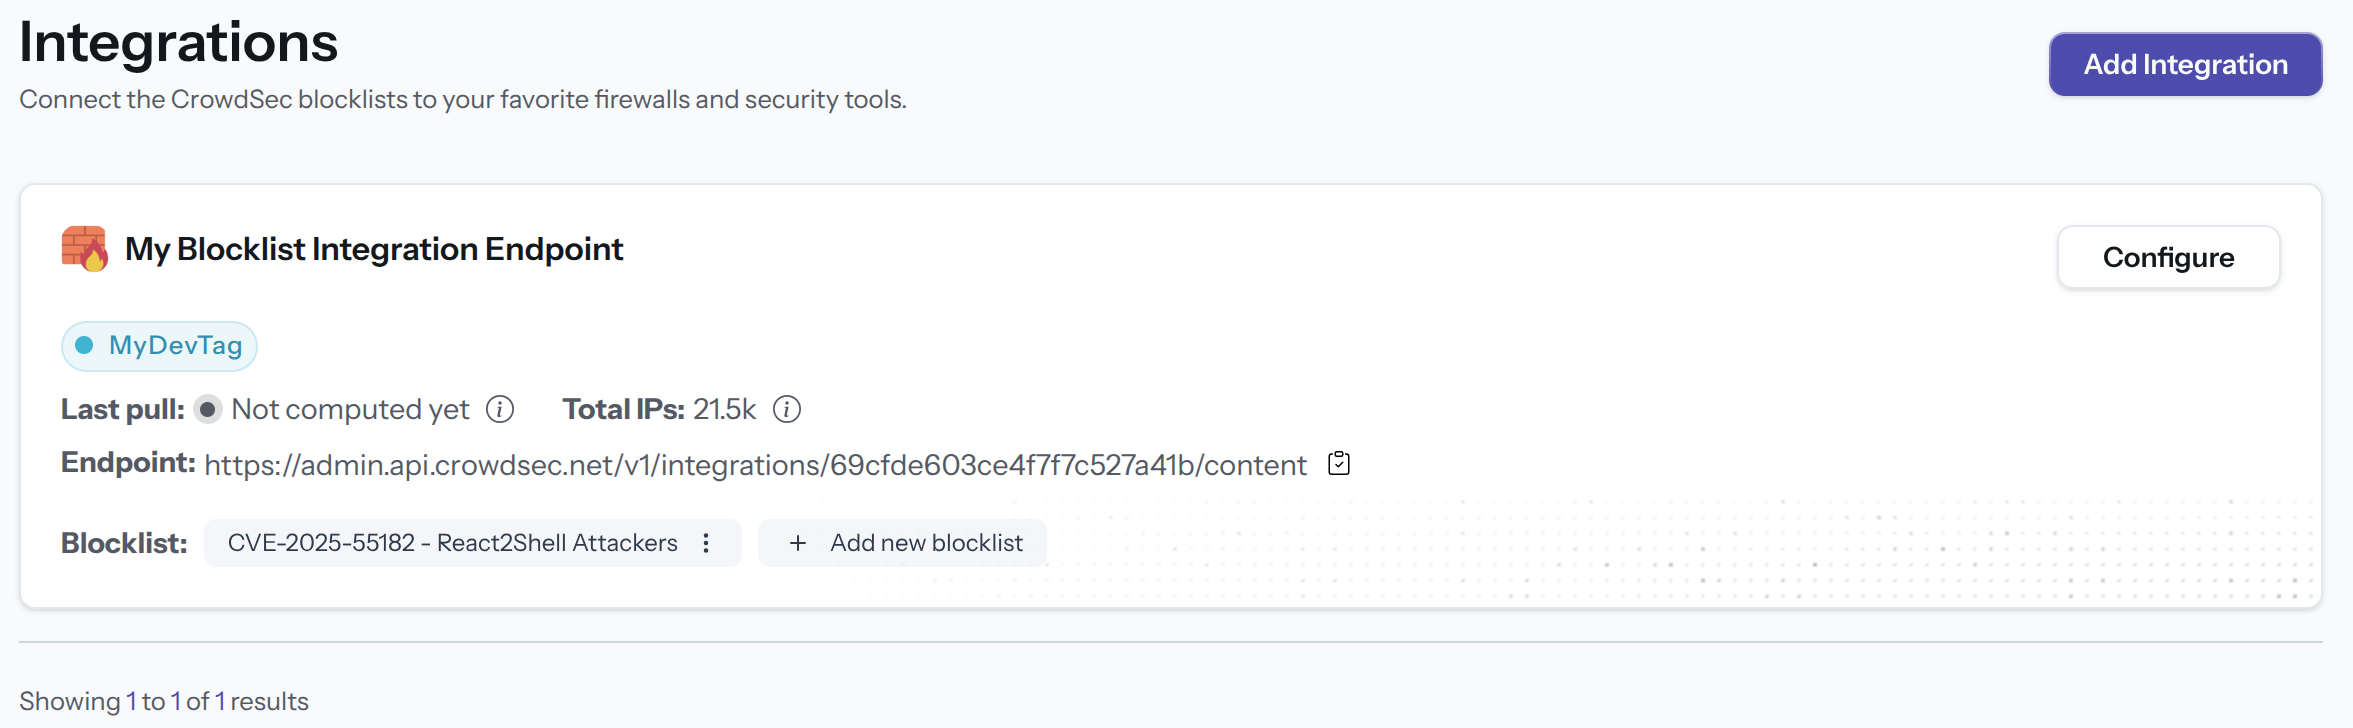
The integration endpoint will serve the deduplicated blocklists it's subscribed to. After creation, a subscription pop-up appears automatically. You can also access it later via the Add Blocklist button.
Select one or more blocklists available for your plan, then click Confirm Subscription. The blocklist name(s) will appear in the integration tile once subscribed.
Configure Juniper
Define the feed server
set security dynamic-address feed-server crowdsec-feed description "CrowdSec Feed"
set security dynamic-address feed-server crowdsec-feed url https://<USERNAME>:<PASSWORD>@admin.api.crowdsec.net
Define the threat feed and update interval
set security dynamic-address feed-server crowdsec-feed feed-name crowdsec-feed description "CrowdSec Feed"
set security dynamic-address feed-server crowdsec-feed feed-name crowdsec-feed path /v1/integrations/<integration_id>/content
set security dynamic-address feed-server crowdsec-feed feed-name crowdsec-feed update-interval 1440 hold-interval 43200
Define the AddressName-to-ThreatFeed mapping
set security dynamic-address address-name crowdsec-feed address-name crowdsec-feed feed-name crowdsec-feed
Review and commit the configuration
show security dynamic-address
The output should look like this:
feed-server crowdsec-feed {
    description "CrowdSec Feed";
    url https://<USERNAME>:<PASSWORD>@admin.api.crowdsec.net;
    feed-name crowdsec-feed {
        description CrowdSec Feed;
        path /v1/integrations/<integration_id>/content;
        update-interval 120;
        hold-interval 43200;
    }
}
address-name crowdsec-feed {
    profile {
        feed-name crowdsec-feed;
    }
}
Manage integration size limits with pagination
If you want to learn how to manage integration size limits with pagination, please refer to the Managing integrations size limits with pagination section.
This integration uses the plain text format. When pulling without compression, keep page_size at or below ~300,000 entries to stay under the ~5 MB response limit; beyond that the response is truncated. Enabling compression avoids this limit entirely.
References
Next Steps
Subscribe to blocklists in the Blocklist Catalog to populate your integration.